Sunflower Drawing Through Art, Printing
Ice Cream Drawing: A Practical Guide to Sketching, Coloring, and Printing Your Art
Arslan Khokhar
September 17, 2026
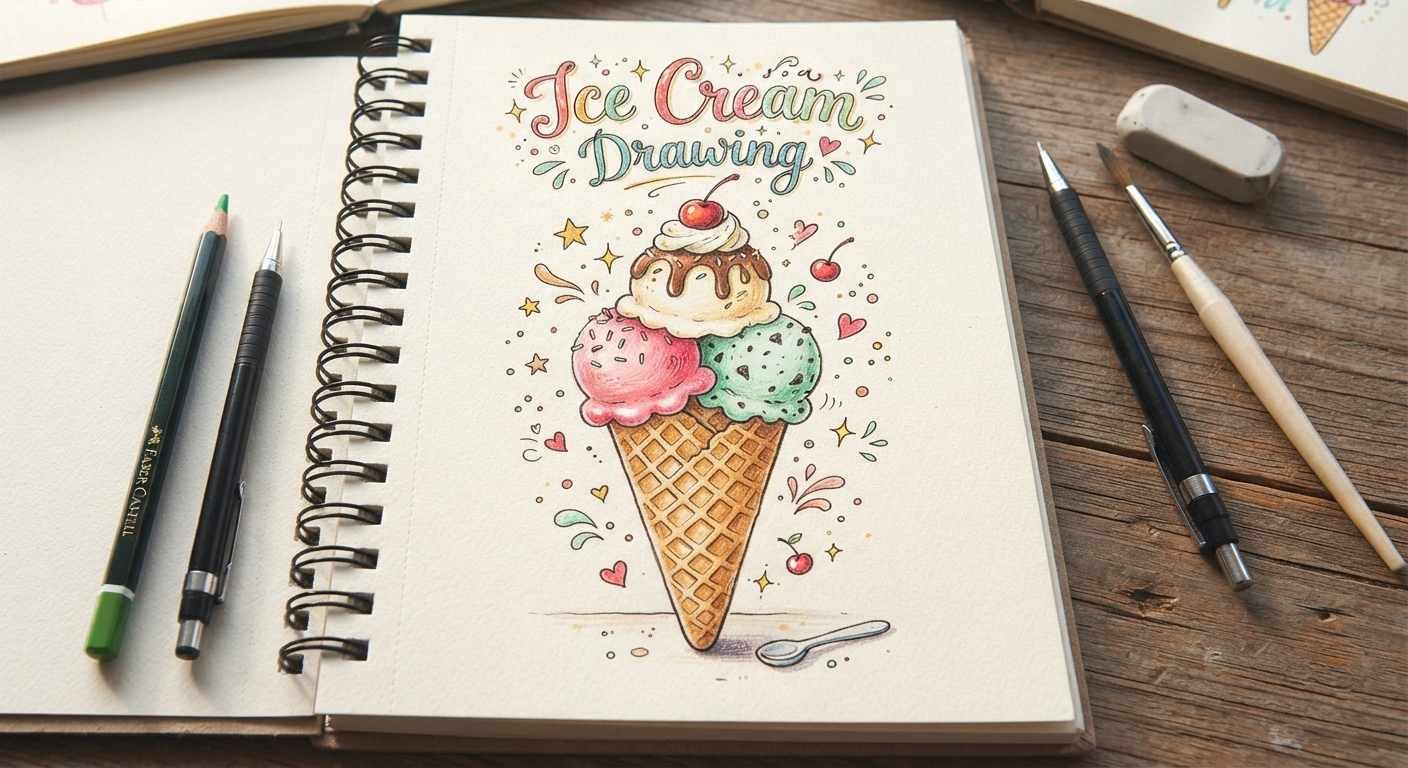
Ice cream drawing is the visual representation of cones, scoops, sundaes, popsicles, and frozen desserts. Artists enjoy this subject for its recognizable shapes, playful colors, varied textures, and wide range of presentation styles. A simple cone can become a classroom exercise, a detailed food illustration, a sticker design, or commercial artwork for a menu.
Ice cream offers useful drawing practice too. Rounded scoops teach volume and shading. Waffle cones introduce repeated patterns and perspective. Syrup, melting edges, glass dishes, and shiny spoons help artists study texture and reflected light. The same subject can suit children, students, hobby artists, art teachers, and professional illustrators.
Understanding Ice Cream Shapes
Most ice cream drawings begin with basic geometric forms. A scoop resembles a sphere with an uneven lower edge. A cone is a tapered triangle with a curved opening. A popsicle is a rounded rectangle attached to a narrow stick. A sundae bowl can be built from an oval, a shallow semicircle, and a short base.
These shapes need slight irregularities to look natural. Real scoops have ridges, small cracks, and soft folds left by the scoop tool. Melted areas form rounded drips instead of sharp points. A cone narrows toward its base, and its grid pattern follows the curved surface rather than sitting like a flat checkerboard.
Recommended Art Supplies
A beginner can start with basic tools and add specialized materials later. The surface and medium should suit the planned result.
Useful traditional supplies include:
- Graphite pencils in HB, 2B, and 4B grades
- A kneaded eraser and a white vinyl eraser
- Smooth drawing paper for pencil or ink pens
- Watercolor paper for wet media
- Charcoal for expressive tonal studies
- Fine liners for permanent line art
- Colored pencils for controlled blending
- Alcohol or water based markers
- Watercolor for transparent color
- Acrylic paint for opaque color and bold highlights
- White gel pen for small reflections
For digital art, a drawing tablet with pressure sensitivity gives better control than a mouse. Procreate is accessible for tablet illustration. Adobe Photoshop supports painting, image cleanup, and print preparation. Adobe Illustrator is useful for scalable vector artwork. Canva can handle simple layouts for cards, posters, and social graphics.
How to Draw an Ice Cream Cone
Use light graphite lines at the beginning. Heavy construction marks can leave grooves in paper and may remain visible after erasing.
- Draw a wide oval for the top opening of the cone.
- Add two sloping lines from the oval to a single lower point.
- Place a loose circle above the oval for the first scoop.
- Draw a second scoop that overlaps the first one.
- Replace the lower edges of each circle with small curves and folds.
- Add a few rounded drips where the ice cream meets the cone.
- Draw diagonal lines across the cone in one direction.
- Cross them with another set of diagonal lines to form the waffle pattern.
- Refine the outer contour using pencil or ink.
- Erase construction lines after the final contour is dry.
- Shade the scoops, cone, drips, and cast shadow.
- Add color, toppings, and small highlights.
Keep the scoops balanced without making them perfectly round. An uneven contour creates a more believable food illustration. The cone pattern should become narrower near the pointed base, which suggests depth.
Sketching, Line Art, and Shading
Begin a pencil sketch with broad shapes, then move to smaller details. An HB pencil works well for construction. A 2B or 4B pencil provides darker shadows. Charcoal produces rich values, yet it can smudge easily, so use workable fixative only after testing it on scrap paper.
Line weight can separate forms. Use thicker lines beneath scoops and around major overlaps. Use thinner lines for sprinkles, cone texture, and highlights. Minimalist artwork may rely on one consistent line, yet subtle weight changes often create more depth.
Choose one light source before shading. Leave the light facing area pale, place a middle value across the turning surface, then darken the opposite side. Add a small cast shadow under each scoop. On glossy sauce, reserve narrow white reflections. A blending stump can soften graphite, though overblending may make the drawing look muddy.
Coloring Ice Cream and Its Details
Colored pencils allow gradual layering. Apply light pressure, build several layers, then burnish selected areas with a pale pencil. Markers produce flat, saturated color. Test marker combinations first since some colors dry darker than they appear.
Watercolor suits soft ice cream illustrations. Paint pale washes, let each area dry, then add deeper color around folds and overlaps. Acrylic paint works well on canvas, cardstock prepared for paint, or illustration board. It can cover earlier layers and create bright highlights.
Details give the subject personality. Use short curved marks for sprinkles so they follow the scoop. Draw syrup with smooth edges and strong reflections. Nuts need irregular angular marks. Cherries look rounder with a dark lower edge and a small light spot. A spoon needs narrow highlights, soft gray shadows, and reflected colors from nearby food.
Popular Ice Cream Drawing Styles
A realistic drawing focuses on accurate light, edible textures, and believable proportions. Reference photos are useful for studying melting edges, condensation, glass, and reflections.
Cartoon and kawaii styles use simplified shapes, thick outlines, bright colors, and facial features. Minimalist work reduces the subject to a few clean contours. Food illustration often combines realism with controlled color and decorative composition. Abstract art may repeat scoop shapes, distort scale, or use unusual color relationships.
Botanical motifs can be added through fruit, mint leaves, cocoa pods, or vanilla flowers. Keep supporting elements secondary so the frozen dessert remains the main subject.
Common Mistakes and Corrections
Several drawing problems appear often:
- Perfectly circular scoops: Break the lower contour into soft folds and ridges.
- Flat looking forms: Establish one light direction and shade every object consistently.
- A rigid cone pattern: Curve the grid lines around the cone and reduce spacing near the tip.
- Random drips: Attach each drip to a larger melting edge.
- Too many highlights: Limit bright white areas to surfaces facing the light.
- Muddy color: Let watercolor layers dry and clean tools between color families.
- Weak composition: Leave useful space around the dessert and avoid accidental tangencies.
- Uneven digital outlines: Adjust brush stabilization and work at a larger canvas size.
An eraser can lift graphite highlights. Opaque white paint can repair small colored areas. Digital layers make revisions simpler, especially when line art, color, shadows, and typography remain separate.
Project Ideas for Different Skill Levels
Children can draw a three scoop cone, invent flavors, then add sprinkles and a smiling face. Art teachers can use the project to explain circles, triangles, pattern, warm colors, and cool colors.
Beginners can study one scoop in a cone using graphite or colored pencils. Intermediate artists can draw a sundae in a glass dish with syrup, whipped cream, and a spoon. Experienced illustrators can create menu artwork, packaging concepts, repeating patterns, sticker collections, or realistic advertising images.
Digitizing Hand Drawn Artwork
Scan flat artwork at 300 DPI for printing at its original size. Use 600 DPI for delicate line art that may need cleanup or resizing. Save an untouched master scan before editing.
For photography, place the art on a flat surface near soft window light. Keep the camera parallel to the paper. Avoid direct glare and mixed light sources. Include a neutral gray card if accurate color matching matters. Correct lens distortion, crop the edges, set the white balance, and remove dust in Adobe Photoshop.
Never enlarge a small raster image far beyond its captured size. Enlargement spreads the existing pixels and softens edges. Vector line art made in Adobe Illustrator can scale freely, which makes SVG useful for logos, decals, and simple apparel graphics.
Preparing Ice Cream Artwork for Printing
Print preparation starts with final dimensions. A 300 DPI file at 8 by 10 inches needs 2400 by 3000 pixels. Set the document to its intended print size before adding fine details.
Check these production requirements:
- Use 300 DPI for most art prints and cards.
- Extend background color into the printer’s required bleed area, often 0.125 inch on every trimmed edge.
- Keep text and key artwork inside the safe margins.
- Request the printer’s color profile when available.
- Order a proof before a large production run.
- Embed fonts or convert lettering to outlines in a print PDF.
- Keep a layered master file and export a separate delivery file.
RGB is built for screens and offers a broad range of luminous colors. CMYK represents cyan, magenta, yellow, and black printing inks. Some bright RGB colors cannot be reproduced exactly with CMYK inks. Convert a duplicate file to the requested CMYK profile, then review muted blues, pinks, and greens.
PNG supports transparency and works well for digital assets or sticker previews. JPEG creates smaller files for photographs but uses lossy compression. PDF is widely accepted for print layouts. TIFF preserves high quality raster data and suits archival masters. SVG stores vector paths for scalable graphics.
Choosing Paper, Ink, and Printing Methods
Smooth art paper preserves fine line work. Textured paper adds a tactile surface to watercolor reproductions, though deep texture may soften tiny details. Cardstock works for greeting cards, menus, postcards, and packaging inserts. Paper weight affects stiffness and handling, so request physical samples before placing a large order.
Inkjet printers are often good for photo and art reproduction, especially with pigment ink and coated paper. Laser printers suit documents, simple cards, and short production runs, yet their color and surface character differ from inkjet output. Giclée printing uses high quality inkjet equipment, archival pigment inks, and suitable fine art paper or canvas.
Ice cream artwork can appear on posters, stickers, apparel, canvas, wall art, menus, and product packaging. Professional printing offers larger sizes, controlled color, specialty media, and finishing services. Home printing gives quick tests and small batches. Calibrate the monitor and use printer profiles for closer color accuracy in either setting.
Copyright, Sales, and Artwork Care
Original drawings receive copyright protection upon creation in many jurisdictions. Keep dated sketches and source files. Do not copy branded packaging, famous characters, or another illustrator’s composition for commercial products. Licensing rules vary, so review local requirements before selling art.
Store original drawings flat in acid free folders. Keep prints away from direct sunlight, moisture, and heat. Use archival mats and protective framing for valuable pieces. Canvas prints should be dusted gently with a dry, soft cloth. Sleeves or rigid mailers help protect cards and prints during storage and shipping.
Frequently Asked Questions
What is the easiest ice cream drawing for a beginner?
A single scoop on a cone is a good starting subject. It uses a circle, an oval, and a tapered triangle.
Which pencil is best for the first sketch?
An HB pencil makes light construction lines. A 2B pencil can add darker shading later.
What resolution should printed artwork use?
Use 300 DPI at the final print dimensions for most art products. Fine line scans may benefit from 600 DPI.
Should artwork be submitted in RGB or CMYK?
Follow the printer’s instructions. Many professional services request CMYK, and some photo labs accept RGB files.
Which file format is best for stickers?
PNG works for transparent digital artwork. PDF or SVG may suit vector designs and cutting workflows. Ask the printer for its preferred format.
Can watercolor artwork be scanned?
Yes. Let the page dry fully, flatten it carefully, and scan at 300 or 600 DPI.
Is a home printer suitable for art prints?
A quality inkjet printer can produce good small runs with compatible pigment ink and art paper. Professional services give more options for large sizes and specialized materials.
How can printed ice cream art resist fading?
Use pigment ink, archival paper, UV filtering glazing, and display the print away from direct sunlight.
Share It
Previous Post
Recent Posts